- 入门教程
- 基础教程
- Tikz教程
- MATH教程
- Editor教程

图像用于增强文档或任何文件中的信息。在大多数科学文献中,图片是必不可少的。在Latex中,您可以放大,缩小,旋转并设置文档中图像的参考。
Latex不会插入图片本身。
插入图像的基本要求是:
- 包括 graphicx 软件包。该命令将写为\usepackage {graphicx} 。
- 您需要从浏览器下载特定图像,并将该图像保存在存在Latex文件的同一文件夹中。否则,Latex无法访问这些图像。保存该特定图像时,请在代码或程序中提及相同的内容。
让我们考虑一个插入图像的简单示例。代码如下:
\documentclass[12pt]{article}
\usepackage{graphicx,xcolor} %引入graphicx和xcolor包
\begin{document}
    \title{Welcome LearnFK Latex Images Tutorials}
    \maketitle

    \pagecolor{lightgray}

    This is the logo of our website\\

    \includegraphics[scale=1]{logo} %scale 是缩放比例,1表示原始大小

\end{document}
输出:

您可以根据需要在文档中插入许多图片。
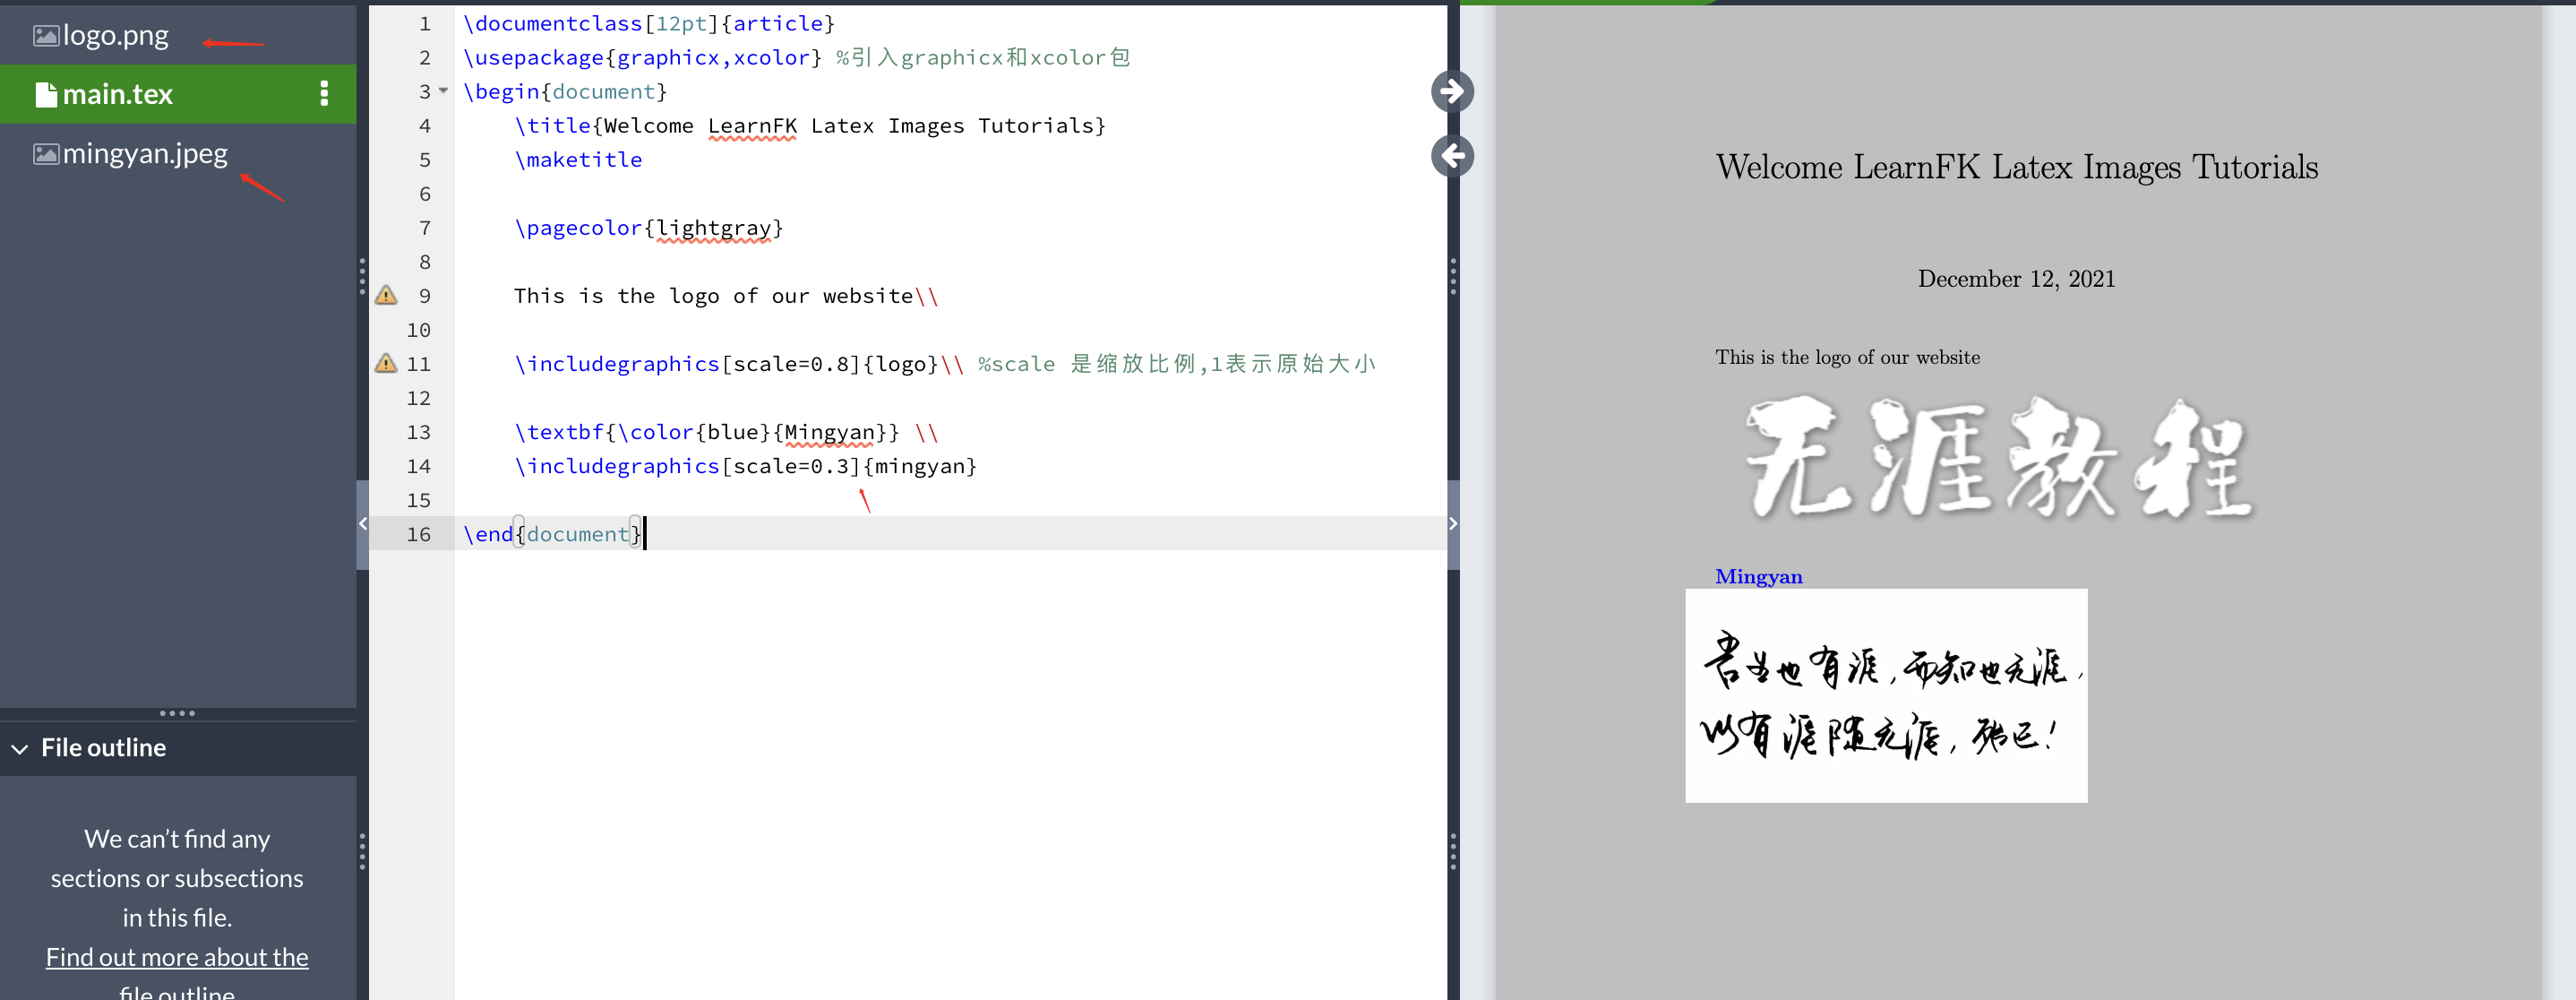
插入两个图像的代码如下:
\documentclass[12pt]{article}
\usepackage{graphicx,xcolor} %引入graphicx和xcolor包
\begin{document}
    \title{Welcome LearnFK Latex Images Tutorials}
    \maketitle

    \pagecolor{lightgray}

    This is the logo of our website\\

    \includegraphics[scale=0.8]{logo}\\ %scale 是缩放比例,1表示原始大小

    \textbf{\color{blue}{Mingyan}} \\
    \includegraphics[scale=0.3]{mingyan}

\end{document}
输出:

图片路径
有时,计算机上不同文件夹中存在大量图像。要将这些图像直接插入Latex文档中,可以使用\graphicspath {{path}}命令指定路径。
让我们考虑路径图像。该命令将写为\graphicspath {{\images}} 。您需要使用名称" images"创建文件夹,以便Latex可以通过此路径轻松将图像或图片插入文档中。
示例如下:
\documentclass[12pt]{article}
\usepackage{graphicx,xcolor} %引入graphicx和xcolor包
\begin{document}
    \title{Welcome LearnFK Latex Images Tutorials}
    \maketitle

    \pagecolor{lightgray}

    This is the logo of our website\\
    \graphicspath{ {image/} } % 这里指定图片目录
    \includegraphics[scale=0.8]{logo}\\ %scale 是缩放比例,1表示原始大小

\end{document}
我们首先在存在Latex文件的位置创建了image文件夹。您可以将多个图像保存在该文件夹中,并可以直接访问它们。
输出:

如果在系统中指定了文件的确切位置,则也可以指定绝对路径。此类示例如下:
\documentclass[12pt]{article}
\usepackage{graphicx,xcolor} %引入graphicx和xcolor包
\begin{document}
    \title{Welcome LearnFK Latex Images Tutorials}
    \maketitle

    \pagecolor{lightgray}

    This is the logo of our website\\
    \graphicspath{ {c:/image/} } % 这里指定图片目录
    \includegraphics[scale=0.8]{logo}\\ %scale 是缩放比例,1表示原始大小

\end{document}
在这里,我们在C:驱动器中创建了" image"文件夹,并因此指定了路径。同样,即使子文件夹中存在图像,也可以指定路径。
输出:

更改图片大小
您可以根据要求指定图像的高度和宽度。 示例如下:
\documentclass[12pt]{article}
\usepackage{graphicx,xcolor} %引入graphicx和xcolor包
\begin{document}
    \title{Welcome LearnFK Latex Images Tutorials}
    \maketitle

    \pagecolor{lightgray}

    This is the logo of our website\\
    \graphicspath{ {image/} } % 这里指定图片目录
    \includegraphics[width=6cm,heigh=4cm]{logo}\\ %指定宽与高

\end{document}
输出:
在这里,您可以根据需要使用任何路径和尺寸。

图像旋转
您可以通过在\includegraphics 命令中指定角度来旋转任何图像。下例给出了这种类型的代码:
\documentclass[12pt]{article}
\usepackage{graphicx,xcolor} %引入graphicx和xcolor包
\begin{document}
    \title{Welcome LearnFK Latex Images Tutorials}
    \maketitle

    \pagecolor{lightgray}

    This is the logo of our website\\
    \graphicspath{ {image/} } % 这里指定图片目录
    \includegraphics[width=6cm,heigh=4cm,angle=50]{logo}\\ %指定宽与高 同时旋转50度

\end{document}
输出:

图像对齐
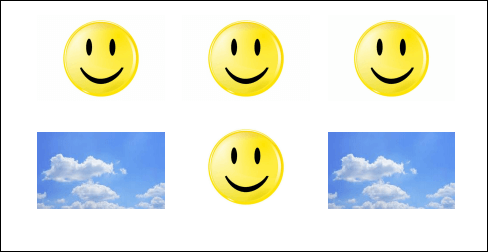
在图像对齐中,使用了两个命令。第一个命令是\baselineskip ,用于生成垂直行距。第二个命令是\quad ,用于保持水平空间。它只有一个宽度。
如果要以矩阵形式对齐图像,请确保所有照片中提到的宽度均相等。
下面给出了以矩阵形式排列六个图像的代码:
\documentclass{article}
\usepackage{graphicx}

\begin{document}
\begin{center}
\graphicspath{ {images/} }
    \includegraphics[width=.2\linewidth]{smiley}\quad
    \includegraphics[width=.2\linewidth]{smiley}\quad
    \includegraphics[width=.2\linewidth]{smiley}
    \\[\baselineskip]% adds vertical line spacing
    \includegraphics[width=.2\linewidth]{cloud}\quad
    \includegraphics[width=.2\linewidth]{smiley}\quad
    \includegraphics[width=.2\linewidth]{cloud}
\end{center}
\end{document}
输出:

如果要将页面的所有图像括在框架中,则需要使用 showframe 包。该命令将写为\usepackage {showframe} 。
祝学习愉快!(内容编辑有误?请选中要编辑内容 -> 右键 -> 修改 -> 提交!)
 《Latex入门教程》